Unwrapping and Texturing a Goat
Today I got to shake things up a bit and work on some 3D stuff! Terra has been working on making a gaquk (a type of large goat in this world) that will be the beast of burden that pulls the sleds. She has been doing a phenomenal job getting the goat modeled, sculpted, and animated. However, she was itching to be done with it so she could work on other parts of the game. I offered to do the texturing while she finished up the animating.
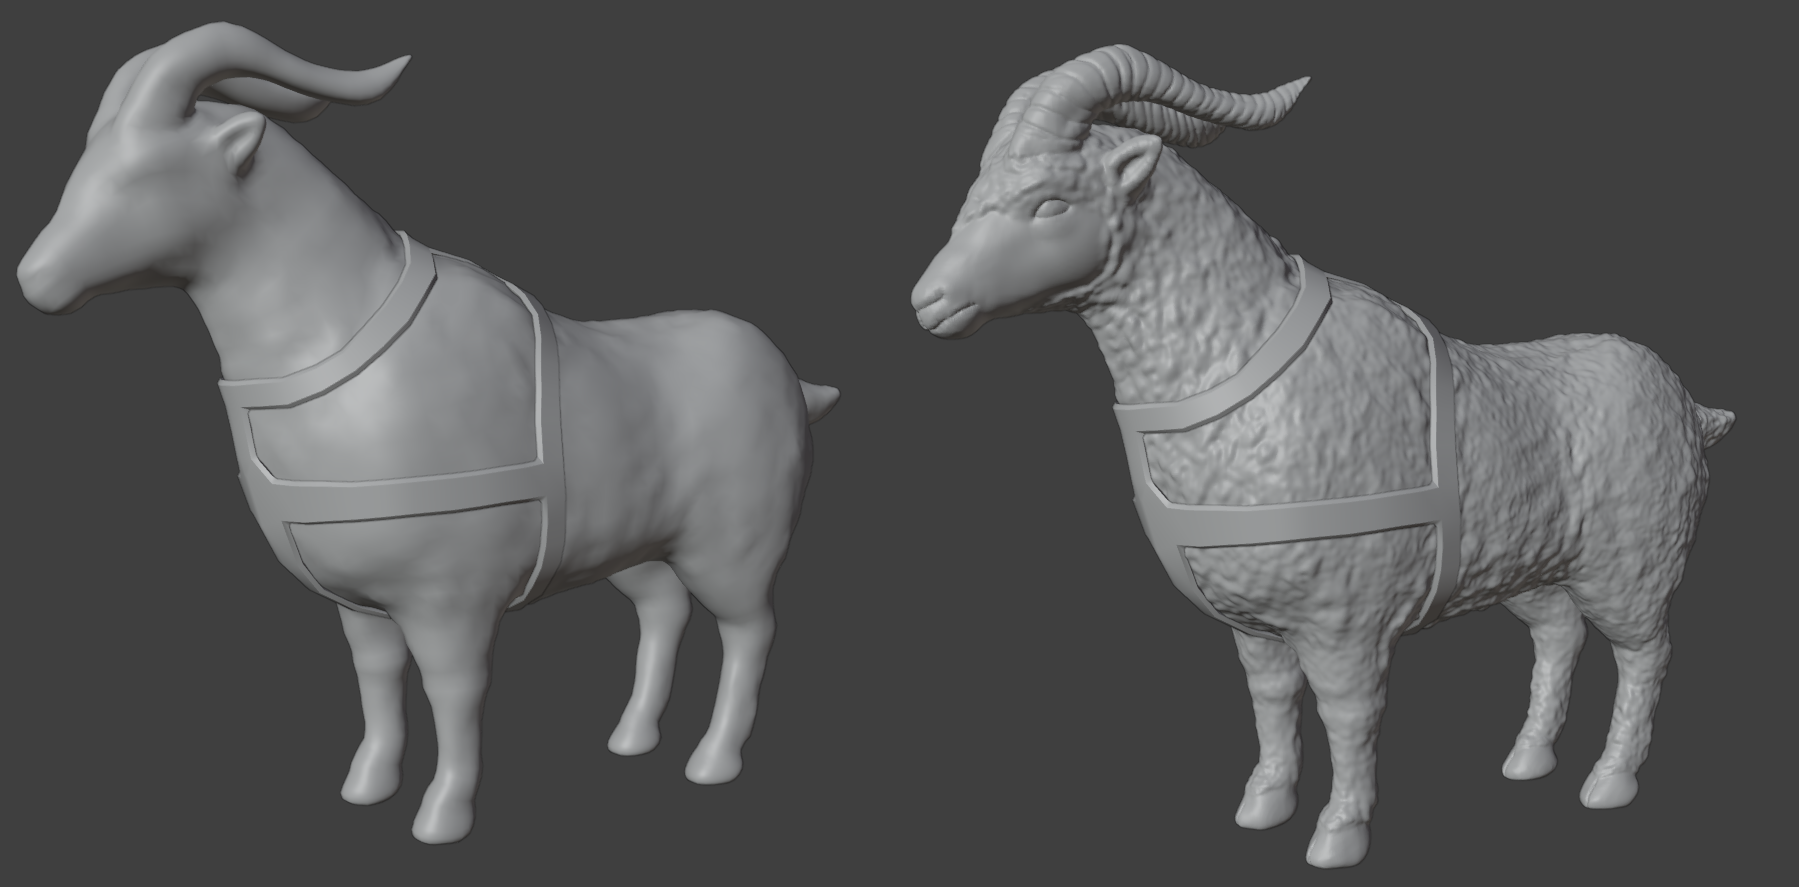
Here were the base models I had to work with. I think she did an incredible job with this. It was the most complex model/sculpt she has done to date and her first time retopoing a high poly sculpt to a lower poly version.
Unwrapping
I unwrapped it following this tutorial by ProductionCrate . While this isn't a horse, I felt it was close enough to one and it got me there well enough. Some of the topology on the model wasn't as conducive for clean unwrapping but it was close enough that it wasn't very noticeable. Edge flow and topology are definitely on the list for further research after this jam. Though, probably on a less complicated model!
Once it was unwrapped, I brought it into Substance Painter and laid out some base colors to get a feel for what we wanted it to look like.
Color Blockout
This image of an ibex served as main inspiration for the goat overall, so I wanted to pull similar colors to that.

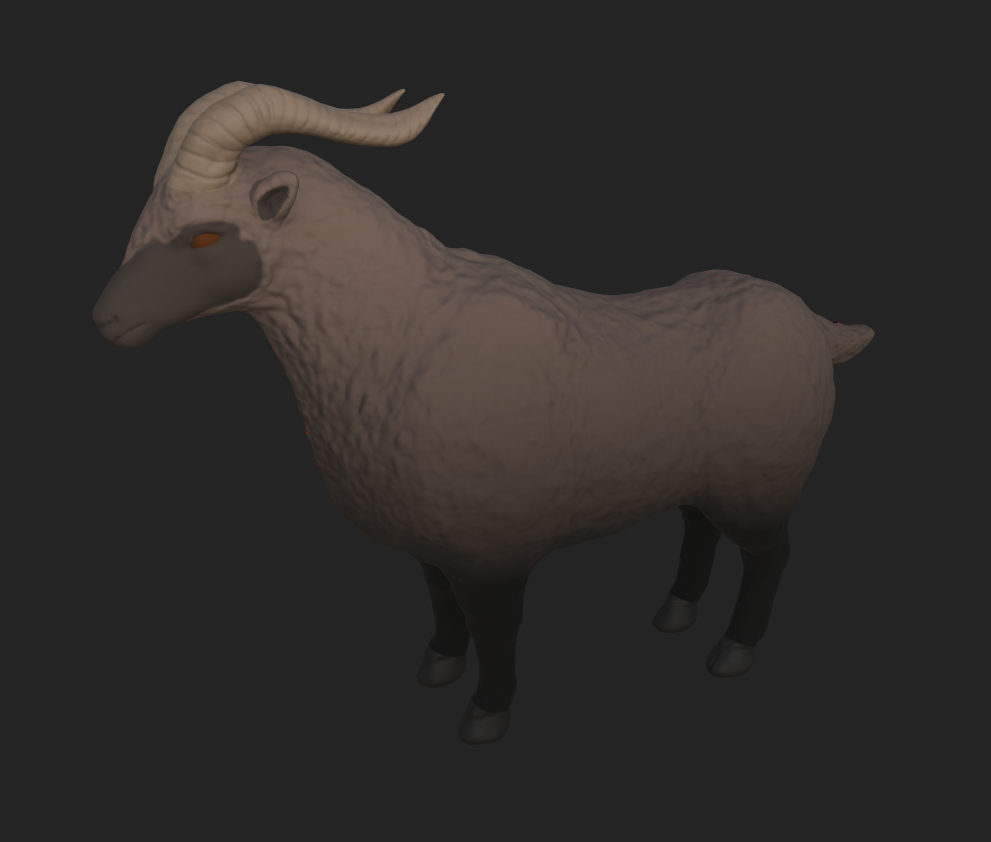
Here was the initial color blocking phase after baking the high-poly version down into the respective maps. It is amazing what you can do with normal maps and ambient occlusion. Overall I was pretty happy with the blockout. The eyes were a little intense but they would be tuned later.
Main Body
Now that the blocking out was done, I could start trying to add some texture to the materials. I stared with the "wool" because it was the bulk of the body and I wanted it to look good (well, as good as I could make it!). Substance didn't have any raw wool textures built in, just wool fabric, which didn't quite look right, for obvious reasons. I was playing around with different textures and the closest one I could find was a concrete texture. It had enough texture to break up the forms and made it look chunky.
I thought it looked decent enough but when Terra saw it she said no. She asked if I had looked on Substance Painter's community asset site to see if they had any wool or fur textures. I did not know that was a thing, so I cruised around on there for a bit. I downloaded a few to try out but ultimately found that this fur texture looked the best for this use case.
Here is what that ended up looking like. While up close it gets a little "normal-y" once you give it a bit of distance it really looks like fur. I also added some color variation along the top to help break it up.
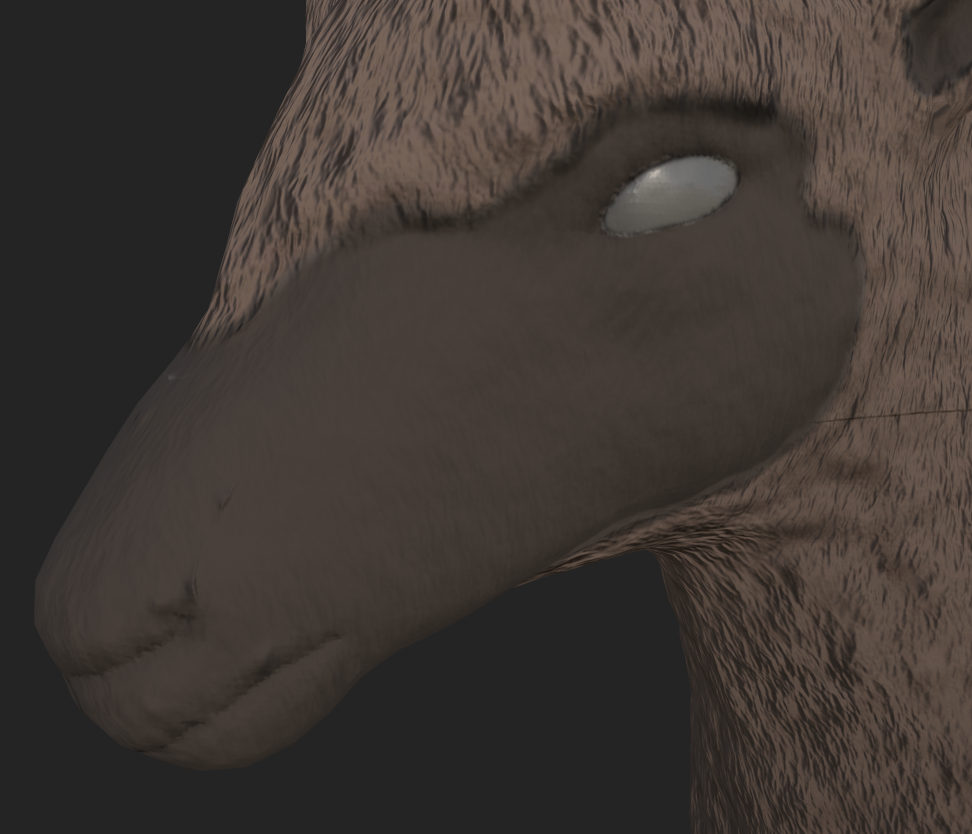
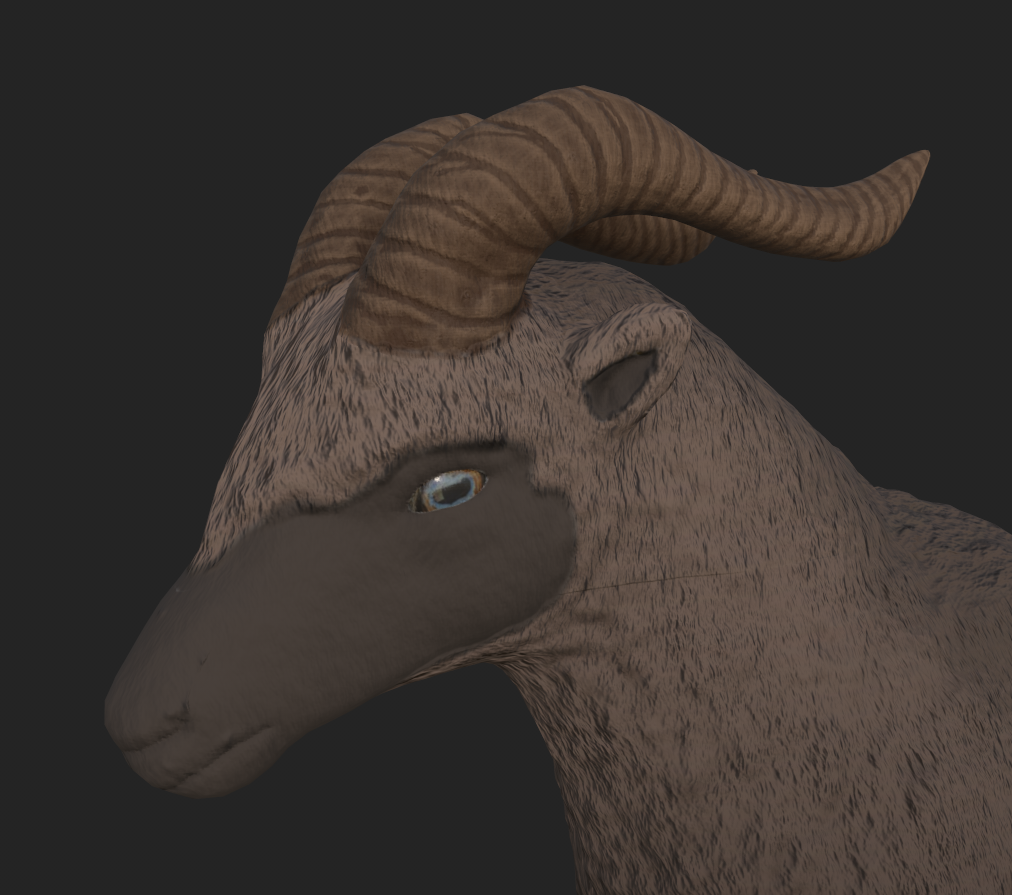
Face
Next, I focused on the face, as that would be the next major focal point. For this, I added the same fur texture to it but increased the tiling count to make the fur smaller/finer and decreased the normal/height values to make it less contrast-y. It is pretty subtle but I felt like it added enough variation. I should have done more work on the actual snout/mouth to give it more detail but I wanted to move on.
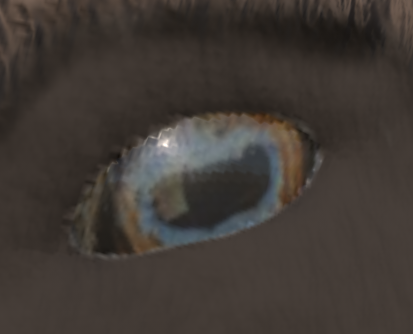
Eyes
Then I moved onto the eyes. Goats have really weird eyes and I ended up just taking an image of a goat eye and just projecting it onto the model. I did have to tone it down because the eye was way too bright for the overall tone of the model.
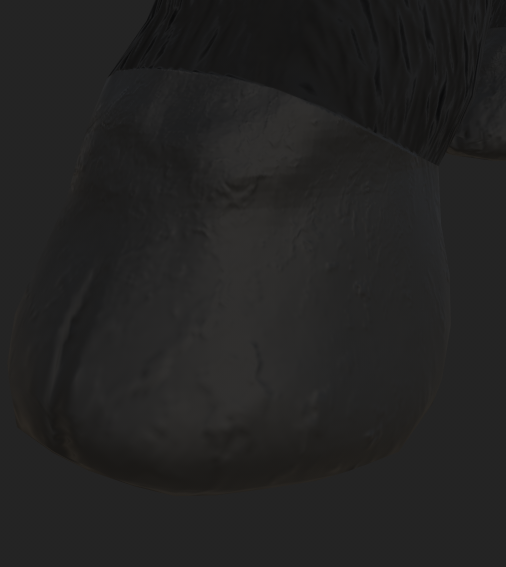
Hooves
The last things were the hooves and the horns. For the hooves, I just slapped a concrete texture onto them and called it a day. They are most likely going to be hidden by snow a lot of the time, so I got something that was good enough. Same with the edges between the legs and hooves. They are too sharp but they won't be seen up close.
Horns
For the horns, I tried a couple of different textures but I couldn't find one that I liked. Terra had already sculpted the major ridges/rings into the horn so I was looking to add some finer details that I saw when looking up what ibex horns looked like up close. This was the reference that I was working off of

I wanted to get more of those finer striations in between the larger grooves. I finally settled on a bark texture with increased tiling to make then small enough. Then I wanted to make those larger grooves really pop. The thing I tried that looked the best was adding a fill layer with a Metal Edge Wear generator for the mask. It wasn't looking quite right so I inverted the mask. That was the ticket and after adjusting the grunge/wear levels I was quite happy with the result.
Final Textures
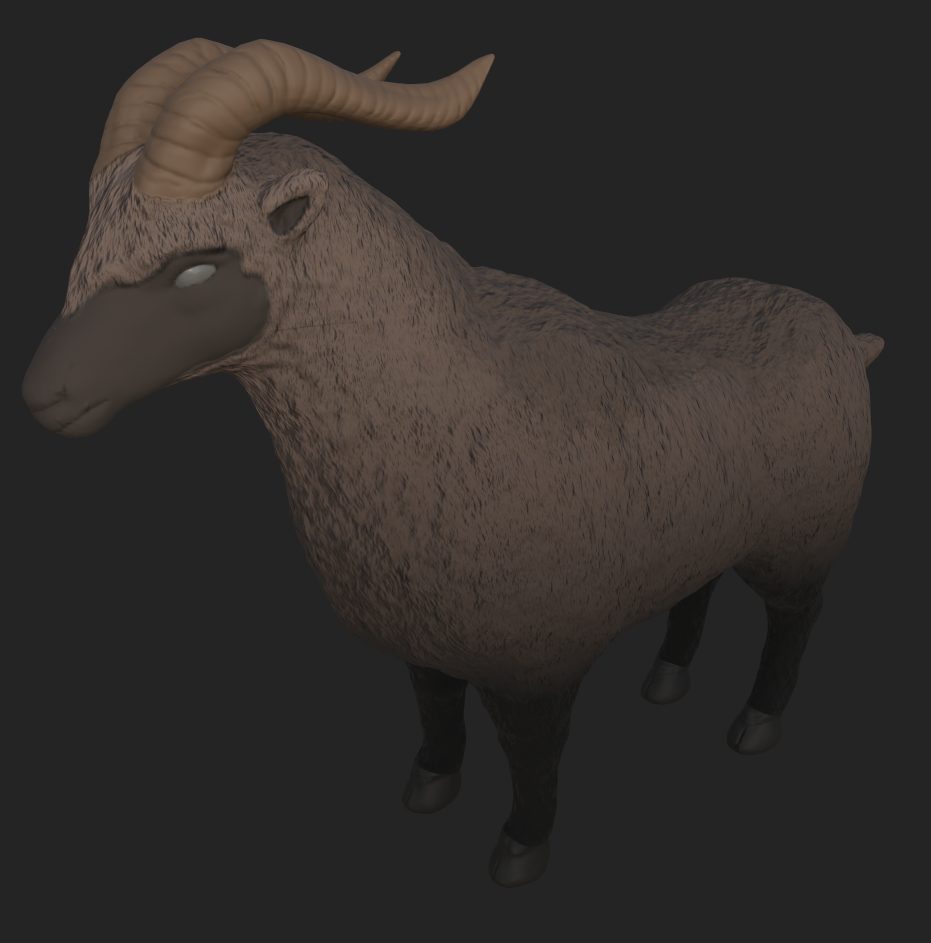
Here is the final textured model.
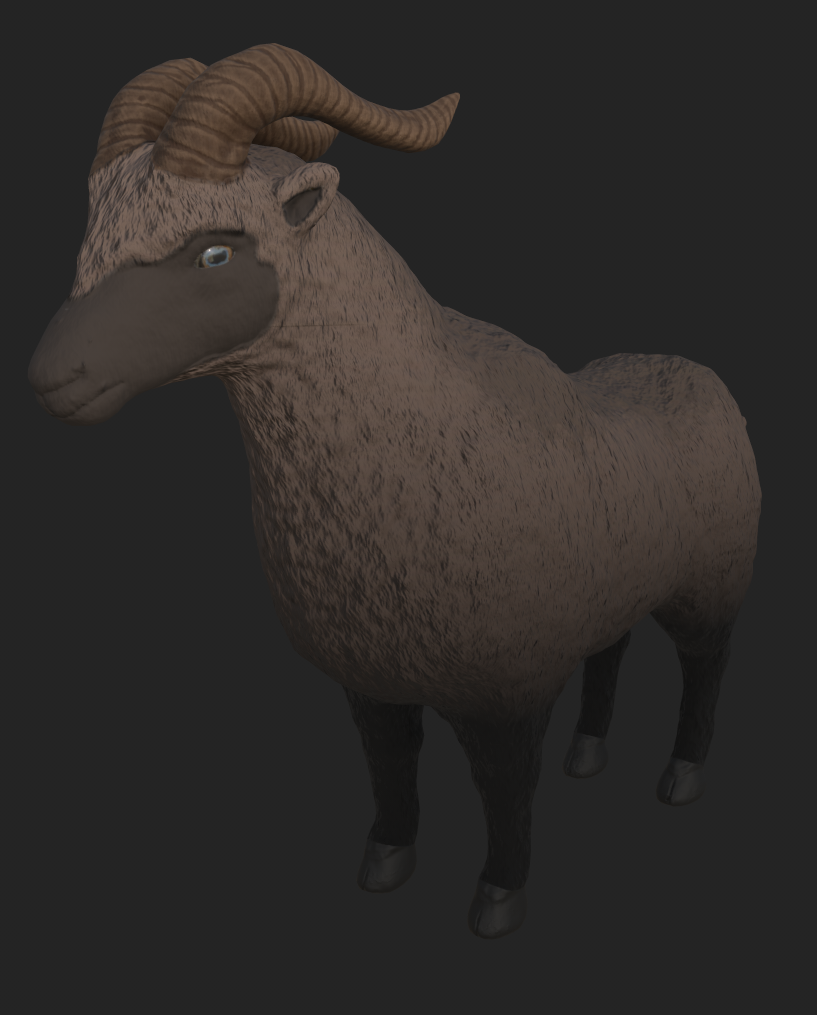
One of the things that I struggled with was getting the masks to line up between the different folders/body parts. In order to prevent the normals from the main body to show up on the face, I had to mask out where the face was going to be, then try and match that exactly on both the Face and Body folder masks or else the white underlayer would show through. I think a better way of doing it would have been to enable the Normal channel on my base color layer in each folder, then set it to have a layer style of "Replace" and crank the value down to 0. That way it would provide a clean slate for the normals in the folder instead of trying to ensure masks masked correctly. This would have also needed to be done for the Height. Something to try on the next model.
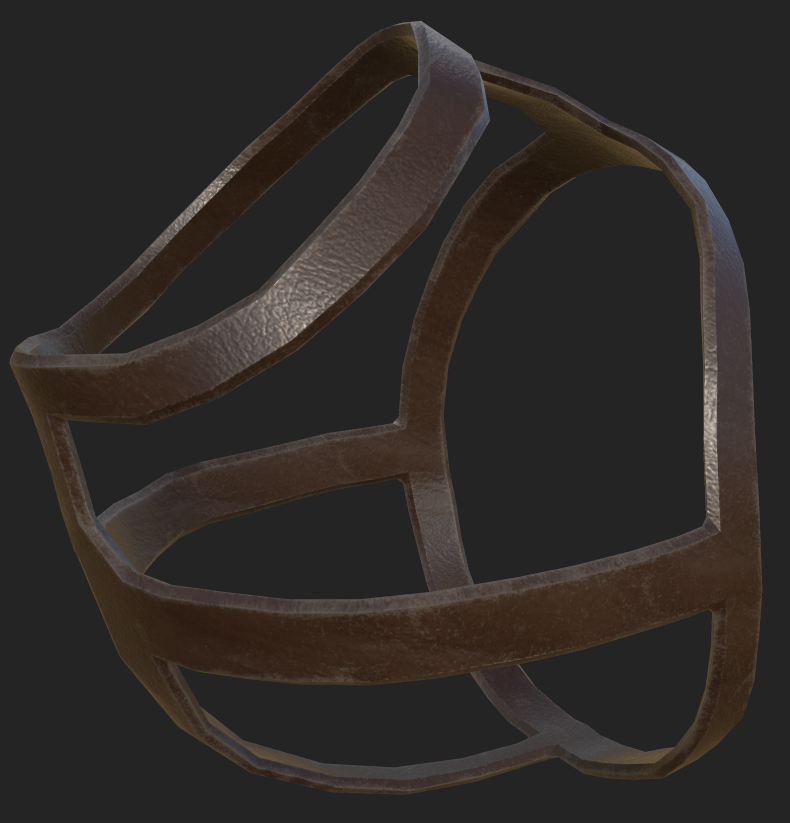
Texturing the Harness
As you may have noticed, the gaquk model above does not include the harness. It is actually a separate object that is rigged to the same armature as the main model, so it deforms the same way. This was just a simple texture that was essentially a leather texture slapped on with some color adjustment and some edge wear added.
Adjusting the Sled
When I originally made the sled, it was basically just as a prop that would sit in a static "beautiful corner". Because of that, the poles that would attach to a beast of burden were static as well. They couldn't be moved from where the ends rested on the ground. This posed a problem because our beast of burden exists above ground. To fix this, I had to separate the poles from the sled body so we could add and position them properly in Unity.
I had to ensure that the pivot point of the pole was in the "eyelet" so it could rotate naturally from where it was connected to the sled.
here is what that looks like in engine with the awesome walk animation that Terra completed in the meantime! For never having animated before, I think she did a swell job. Also, please ignore the fact that there is only one pole on the sled. There should be a companion one on the right side of the gaquk as well.
Even More Soothing
Now that the gaquk was out of the way, I could get back to finishing the Soothe spell (hopefully). The first thing I needed to do was to ensure that the modifier was being applied correctly and more importantly, that it was being cleared correctly.
To do this, I expanded the debug panel to have a column showing the modifiers active on a given character. Then, I added the logic in the code to populate it. If it has a (-) then that means that it has to be manually cleared. Otherwise, it will show the current time left on the modifier.
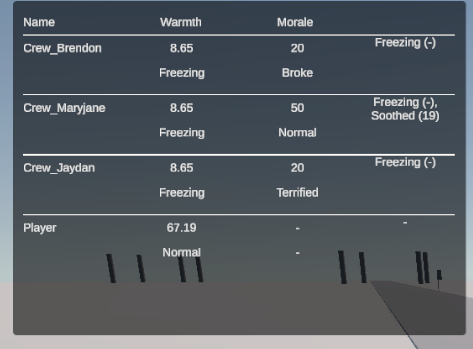
The good news was that the Soothed modifier was clearing itself like it was supposed to when the timer ran out. The bad news (at least in my opinion) was that when you cast Soothe on the same character again, the existing timer was not being reset. I feel like that made it tedious because you had to wait until the modifier dropped before you could apply it again and I felt that you should be able to "top it up" especially since it would still consume your energy either way.
To do this, I reworked the casting logic. If the max number of modifiers (of that type) were already present, then find the oldest one and reset its timer. If the max number hasn't been reached yet, it will just add a new one like usual.
var modifiersWithSameTemplate = _modifiers.Where(m => m.Template.Type == modifierType).ToList();
if (modifiersWithSameTemplate.Count >= modifierTemplate.MaxInstances)
{
    if (modifierTemplate.ClearType == MoraleModifierClearType.Manual) return;

    var oldestModifier = modifiersWithSameTemplate.OrderBy(m => m.Timer.TimeRemaining).First();

    oldestModifier.Timer.Reset();

    return;
}
This worked and felt much better to do. Unfortunately, that was all I was able to get done. Hopefully tomorrow I can actually get the Soothe spell finished!